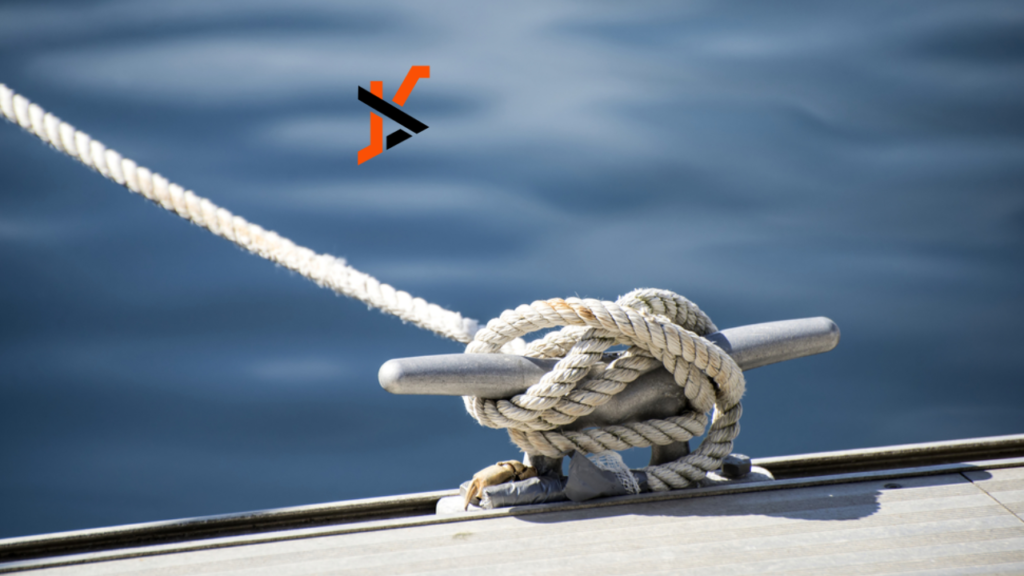
As you set sail on your aquatic adventures, one skill that’s essential to master is boating knots. From securing lines to docking and anchoring your vessel, knowing how to tie the right knots can make all the difference in your boating experience.
In this guide, we’ll explore five essential boating knots that every beginner should master, along with step-by-step instructions on tying them.
The Bowline Knot
The bowline knot is often called the “king of knots” for its versatility and reliability. It’s commonly used for tying a loop at the end of a line, making it ideal for securing to a dock or cleat. Here’s how to tie a bowline knot:
- Form a small loop in the rope’s standing part, with the free end passing underneath.
- Pass the free end through the loop from underneath, then around the standing part, and back down through the loop.
- Tighten the knot by simultaneously pulling on the standing part and the free end, ensuring the loop remains secure.
The Cleat Hitch
The cleat hitch is essential for securing your boat to a cleat on a dock or pier. It’s a simple yet effective knot that provides a strong hold under tension. Here’s how to tie a cleat hitch:
- Pass the line around the base of the cleat, crossing over itself.
- Wrap the line around one side of the cleat, then cross over and wrap it around the other side.
- Finish by looping the line under itself and pulling tight to secure the knot.
The Figure-Eight Knot
The figure-eight knot is a basic stopper knot that prevents the end of a rope from slipping through a hole or block. It’s commonly used to secure the end of a line or create a stopper knot before tying another knot. Here’s how to tie a figure-eight knot:
- Form a loop in the rope, crossing the working end over the standing part to create a figure-eight shape.
- Pass the working end back through the loop from underneath.
- Tighten the knot by pulling on both the standing part and the working end.
The Clove Hitch
The clove hitch is a versatile knot that can be used for a variety of purposes, including securing fenders, attaching lines to posts, and temporarily fastening lines together. Here’s how to tie a clove hitch:
- Pass the line around the post or object you’re tying to, crossing over itself.
- Cross the line over itself again, forming an X shape.
- Wrap the line around the object once more, tucking it under the crossed section to secure the knot.
The Anchor Bend
The anchor bend is specifically designed for attaching an anchor to the end of a line securely. It’s essential for ensuring your anchor stays put while you’re moored or fishing. Here’s how to tie an anchor bend:
- Pass the end of the line through the anchor’s ring or eye.
- Wrap the line around the standing part of the rope, then pass it back through the loop created.
- Finish by wrapping the line around the standing part again and passing it back through the loop once more.
- Pull tight to secure the knot, ensuring it’s snug and won’t come undone under tension.
Final Words
Mastering these five essential boating knots is a valuable skill that every beginner boater should strive to achieve. Whether you’re tying off to a dock, securing your anchor, or simply keeping your lines tidy, knowing how to tie the right knots can make your boating adventures safer and more enjoyable.
So, practice these knots until they become second nature, and set sail with confidence, knowing you have the skills to handle whatever the open water throws your way.
Happy Boating!

