
Gotify is an open-source notification system that allows users to send messages to their Android devices from self-hosted servers. If you’re looking for a simple, privacy-focused alternative to push notification services, Gotify is a great choice. Setting up Gotify on Android is easy, but beginners may need a step-by-step guide to get started. In this article, we will walk you through the Gotify Android setup, from downloading the app to connecting it with a server. Follow along to start receiving notifications on your Android phone in no time!
How to Set Up Gotify on Android (Easy Steps)
Setting up Gotify on Android involves a few essential steps. First, you need to install the Gotify app on your phone. Next, you need to set up a Gotify server (or use an existing one) to receive notifications. Finally, you’ll connect the app to the server and test if everything is working correctly.
Don’t worry! This guide is written for beginners, so even if you’re not tech-savvy, you’ll be able to follow along. Let’s get started!
Install Gotify on Your Android Phone
The first step in setting up Gotify is installing the Android app. Gotify is not available on the Google Play Store, so you’ll need to download it manually from a trusted source. The installation process is straightforward, and we’ll guide you through it.
Where to Download Gotify?
Since Gotify is an open-source project, you can download it directly from official sources. The safest places to get the Gotify Android app include:
- GitHub (Official Gotify Repository) – https://github.com/gotify/android/releases
- F-Droid (An open-source app store for Android) – https://f-droid.org/packages/com.github.gotify/
These sources ensure that you’re downloading a secure and up-to-date version of the app. Avoid downloading Gotify from unknown third-party websites to prevent security risks.
How to Install Gotify APK?
If you downloaded Gotify from GitHub or F-Droid, you will need to install it manually using an APK file. Follow these steps to install Gotify on your Android phone:
- Enable Unknown Sources – Go to your phone’s settings, navigate to Security > Install unknown apps, and allow installation from your browser or file manager.
- Download the APK – Get the latest Gotify APK file from the official GitHub or F-Droid links.
- Open the APK File – Locate the file in your Downloads folder and tap it to start the installation.
- Follow the Prompts – Your phone will ask for confirmation. Click Install, and wait for the process to complete.
- Launch Gotify – Once installed, open the app and grant any necessary permissions.
After installing Gotify, you’re ready to set up a server connection!
Is Gotify Safe for Android?
Yes! Gotify is open-source, which means its code is publicly available for review. Unlike commercial notification services, Gotify does not collect personal data or send messages through third-party servers. When you self-host Gotify, you have full control over your notifications.
However, since the app is not on the Play Store, you should always download it from trusted sources like GitHub or F-Droid to ensure safety.
Set Up Gotify Server for Notifications
To use Gotify, you need a server to send notifications. You can:
- Host your own Gotify server using a VPS (like DigitalOcean, Linode, or AWS).
- Use an existing Gotify server if you don’t want to set up your own.
If you prefer to self-host Gotify, you’ll need a server running Docker or a Linux environment. Here’s how to install it:
- Connect to your server via SSH.
- Install Docker if you haven’t already.
- Run the following command to start Gotify:
- bash
- CopyEdit
- docker run -p 80:80 -v /var/gotify/data:/app/data gotify/server
- The server will now be running at http://your-server-ip/.
- Create an API token in the Gotify web interface.
Once your Gotify server is running, you can connect your Android app to it!
Connect Your Android App to the Gotify Server
Now that you have both Gotify installed on your phone and a running server, it’s time to connect them. Follow these steps:
- Open Gotify on Android – Launch the app on your phone.
- Enter the Gotify Server URL – Type in your server address (e.g., http://your-server-ip/).
- Generate an API Token – In the Gotify web interface, go to Applications > Create Application and copy the token.
- Enter the Token in Gotify App – Paste the API key into the Gotify Android app.
- Click Connect – Your Gotify app is now linked to your server!
Finding Your Gotify Server URL
Your Gotify server URL depends on where you installed it. Here’s how to find it:
- If you installed Gotify on your home network, your URL might be http://192.168.X.X:80/.
- If you’re using a VPS, your URL is http://your-server-ip/.
- If you set up a domain, your URL will be https://yourdomain.com/.
Make sure the URL is correct before entering it into the app.
Entering the Server Key Correctly
When entering the API token, make sure:
- There are no extra spaces.
- You copied the entire key from the Gotify web interface.
- You pasted the token exactly as it appears.
If the connection fails, double-check your API token and server URL.
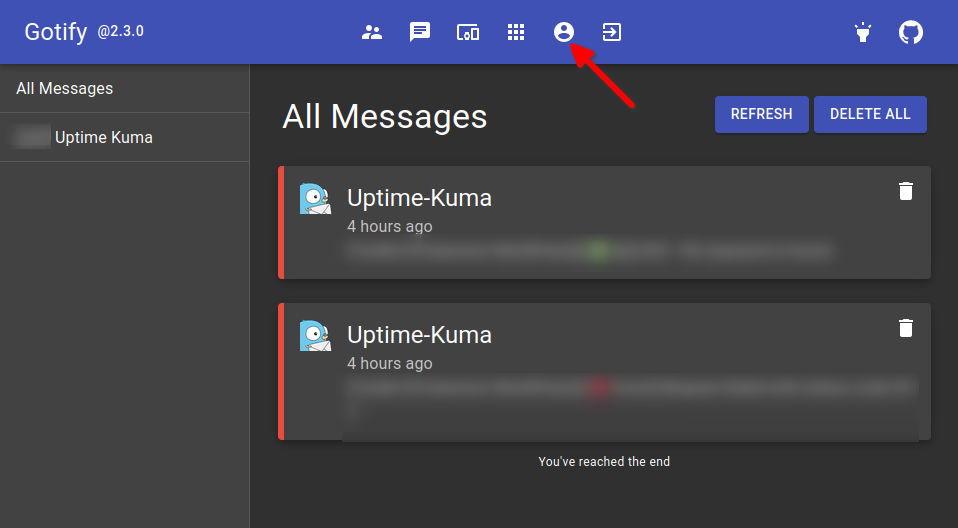
Testing Notifications (Does It Work?)
To test if Gotify is working:
- Go to your Gotify web interface.
- Click on your created application.
- Send a test message.
- Check your Android phone – if you see a notification, it’s working!
Troubleshooting: Fix Common Gotify Setup Problems
If your Gotify setup isn’t working, try these fixes:
- Check your internet connection – Ensure your phone and server are online.
- Verify the server URL – Make sure it’s correct.
- Restart the Gotify app – Close and reopen the app.
- Ensure your server is running – Run docker ps on your server to check.
- Look at Gotify logs – Check for errors in the server logs.
Why Use Gotify Instead of Other Notification Apps?
Gotify has several advantages over traditional push notification services:
- No third-party tracking – Your data stays private.
- Self-hosted – You control everything.
- Lightweight & fast – Uses minimal resources.
- Open-source – Transparent and community-driven.
Enjoy Your Gotify Notifications!
Congratulations! You have successfully set up Gotify on your Android device. Now, you can receive notifications privately and securely. Whether you’re using Gotify for personal alerts, server monitoring, or automation, you’ll appreciate its simplicity and efficiency.
The Bottom Line
Gotify is an excellent alternative to mainstream push notification services. It’s easy to set up, secure, and completely under your control. By following this guide, you have learned how to install Gotify on Android, set up a server, and connect the app to start receiving notifications.
Now that Gotify is running on your device, you can integrate it with scripts, home automation tools, and other applications. If you encounter any issues, refer back to this guide for troubleshooting tips.
Enjoy your new privacy-friendly notification system with Gotify!