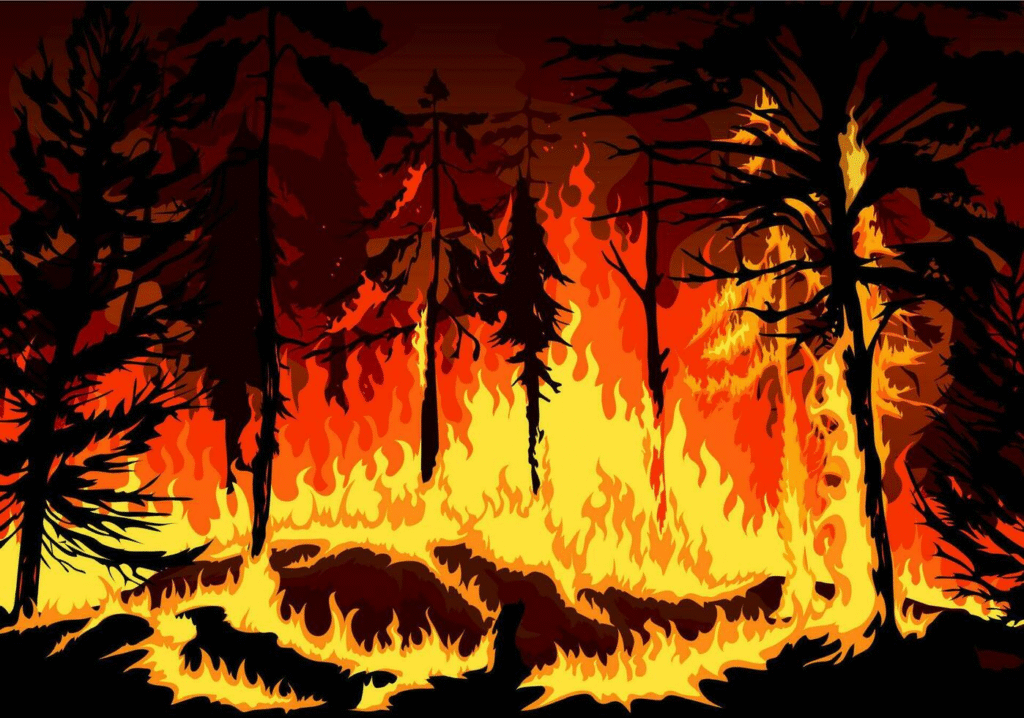
Drawing can be one of the most relaxing and exciting hobbies for kids, especially when it involves something dramatic and full of colors, like a forest fire drawing. Whether you’re doing it for school, an art competition, or just for fun, learning how to draw a forest fire can help you understand both the beauty and the seriousness of nature. In this guide, you’ll learn step-by-step methods to create your own forest fire artwork, use the right colors, add realistic flames, and make your picture stand out while also learning some important safety messages.
What is a Forest Fire Drawing?
A forest fire drawing is an artistic illustration that shows a scene of a wildfire burning through trees, plants, and sometimes even affecting animals and people. It can be a simple sketch made with pencils or a colorful painting filled with oranges, reds, yellows, and smoky grays. Forest fire art isn’t just about making a pretty picture — it can also tell a story. Sometimes these drawings are used in school projects to raise awareness about how dangerous wildfires can be and why it’s important to prevent them.
For kids, a forest fire drawing can be both fun and educational. It allows you to practice different drawing techniques, such as blending colors for smoke or creating realistic textures for trees. Plus, it gives you a chance to be creative — you might add animals running to safety, firefighters bravely putting out the flames, or a beautiful sunset behind the smoky sky.
Easy Steps to Draw a Forest Fire
When you’re starting your forest fire drawing, it’s helpful to follow a series of steps instead of just jumping in. This makes sure that your picture looks balanced and that you don’t forget important details. First, think about the layout: where will your trees go, where will the fire start, and where will the smoke rise? Use light pencil lines at the beginning so you can erase mistakes easily.
Next, sketch out the basic shapes — the tall tree trunks, the sloping ground, and the clouds of smoke in the background. After that, you can start adding details like leaves, flames, and sky color. If you use colored pencils or crayons, begin with light colors and build up to darker shades. This will make the flames look brighter and more realistic.
Draw the Trees
Trees are the main focus in a forest fire drawing, so it’s important to make them look natural. Start by drawing tall, narrow trunks using vertical lines. You can make the trunks slightly curved to give them a realistic look. Add branches that stick out from the trunk, remembering that some trees in your picture will be partly covered by smoke or fire.

For the leaves or pine needles, you can use quick, short strokes if you’re drawing pine trees, or rounded shapes if you’re drawing broadleaf trees. Don’t make every tree identical — in nature, trees are different sizes and shapes. Some should be close together, while others stand alone. Once the trees are done, you can decide which ones will be surrounded by flames and which will just have smoke drifting past them.
Add the Flames
Flames are what make a forest fire drawing exciting. Use wavy, uneven lines to show the flickering movement of fire. Start at the base of the trees and let the flames curl upward. Use a mix of bright yellow for the center of the flames, orange for the middle, and red for the outer edges. This layering makes the fire look hot and alive.
To make it more realistic, you can draw small sparks flying upward or bits of burning wood falling from the trees. Remember, fire is never perfectly shaped — it’s wild and unpredictable. That’s why your lines should be loose and varied instead of neat and straight.
Color the Sky and Smoke
One of the most powerful parts of a wildfire drawing is the smoky sky. Instead of a bright blue sky, you can use shades of gray, brown, and even purple to show the thick smoke in the air. If you want to make your drawing dramatic, try coloring the lower part of the sky orange or red to show the glow of the fire.
Use gentle shading for the smoke so it looks soft and cloud-like. You can blend with your finger, a tissue, or a blending tool if you’re using colored pencils or pastels. Adding smoke not only makes your drawing realistic but also helps set the mood, showing how serious a forest fire can be.
Best Colors for a Forest Fire Drawing
Choosing the right colors is very important in making your forest fire drawing look alive. Here are some popular color choices:
- Yellow – for the hottest parts of the flames
- Orange – for the middle layer of the fire
- Red – for the outer, cooler parts of the flames
- Black and Gray – for burnt trees and smoke
- Brown – for tree trunks and scorched ground
- Dark Blue or Purple – for a night-time fire scene
Mixing and blending these colors will give your picture depth and make it more eye-catching.
Forest Fire Drawing Ideas for School Projects
If you’re making a forest fire drawing for school, you can add educational elements. For example, you could include signs that say “No Campfires” or “Fire Danger: High” to show ways to prevent wildfires. Another idea is to create a “before and after” drawing, where one side of the paper shows a healthy green forest, and the other side shows the same forest on fire.
You can also draw animals like deer, rabbits, or birds running away from the flames to show how wildfires affect wildlife. If you want to be extra creative, you could turn your forest fire art into a comic strip that tells a short story about how the fire started and how it was put out.
Tips to Make Your Drawing Stand Out
To make your drawing more impressive, focus on details. Add texture to the tree bark by drawing thin lines. Make the ground look realistic by adding rocks, fallen branches, and patches of burnt grass. You can also add a sense of movement — maybe the flames are bending to one side because of the wind, or the smoke is swirling in the air.
Using contrast is another trick: place bright flames against dark trees or a dark sky so they stand out. And don’t forget perspective — having some trees close up and others far away makes your picture look 3D instead of flat.
Show Safety Signs
Including safety signs in your forest fire drawing can make it more meaningful. For example, a “No Littering” sign or a “Prevent Wildfires” poster in your artwork reminds people to be careful in nature. This not only makes your drawing unique but also sends a strong message about protecting the environment.

Add a Firefighter Scene
Firefighters are heroes during wildfires, and adding them to your forest fire art can make it even more powerful. You can draw firefighters spraying water from hoses, flying helicopters dropping water, or using shovels to stop the fire from spreading. This shows teamwork, bravery, and the importance of quick action during a fire.
Why Learning About Forest Fires is Important
While making a forest fire drawing is fun, it’s also a chance to learn. Forest fires can destroy homes, kill animals, and harm the environment. Understanding how they start — whether from lightning, campfires, or human carelessness — helps us prevent them. When kids learn about forest fires through art, they remember these lessons better.
Forest Animals Escaping Fire
Wild animals are often the hidden victims of wildfires. In your drawing, you could show deer jumping over fallen logs, birds flying high to escape the smoke, or rabbits running into safe areas. This helps people understand that forest fires don’t just affect trees — they affect entire ecosystems.
Step-by-Step Forest Fire Drawing Guide
Here’s a simple step-by-step plan for creating your forest fire artwork:
- Lightly sketch the outline of trees and ground.
- Add details to the trees — trunks, branches, leaves.
- Draw flames at the base of trees, letting them rise upward.
- Add smoke clouds in the background.
- Color the flames with yellow, orange, and red.
- Shade the trees and ground to show burning effects.
- Color the sky with smoky grays and fire glow.
- Add extra details like animals, firefighters, or signs.
The Bottom Line
A forest fire drawing can be more than just a fun art project — it’s a way to combine creativity with learning about nature and safety. By following the steps in this guide, using the right colors, and adding your own ideas, you can create a picture that’s both beautiful and meaningful. Whether you’re doing it for school, for practice, or for an art contest, remember that your artwork can tell a powerful story about the importance of protecting our forests.

