 – Easy Guide for Beginners")
If you own a Mac and want to run Android apps or games, you’ll need something called an Android emulator for Mac. This tool acts like a bridge, allowing you to enjoy mobile apps directly on your computer. In this guide, we’ll explain everything about Android emulators, why people use them, which ones are the best in 2025, and how to make them run smoothly without lag.
What Is an Android Emulator for Mac?
An Android emulator for Mac is a piece of software that creates a “virtual Android phone” inside your Mac computer. Imagine having a mini smartphone that runs inside your Mac screen. With this, you can download apps from the Google Play Store, play Android games, or test apps without needing a real Android device.
The emulator mimics how Android works, including features like touch, keyboard, camera, and even GPS. For developers, it’s very helpful because they can test apps without switching between different physical phones. For gamers, it’s a way to enjoy mobile games on a bigger screen with better controls.
Why Do People Use Android Emulators on Mac?
There are many reasons people install an Android emulator for Mac. Some use it for gaming, because playing mobile games like PUBG Mobile, Genshin Impact, or Free Fire on a Mac gives smoother controls and a larger screen. Others use it for productivity, such as running Android-only apps on macOS. Developers also rely on emulators to test how their apps perform across different Android versions before launching them.
Another common reason is cross-platform flexibility. Not every app is available on macOS, so with an emulator, you can run apps like WhatsApp, TikTok, or Instagram directly on your Mac without switching to your phone. This saves time, boosts productivity, and makes multitasking much easier.
Best Android Emulators for Mac in 2025
Choosing the right emulator depends on your purpose. Some are lightweight and best for casual use, while others are built for heavy-duty gaming or professional app testing. Below are the best Android emulators for Mac in 2025 that people trust the most.
BlueStacks – Most Popular and Easy to Use
BlueStacks is by far the most popular Android emulator for Mac. It is widely known for its simple setup and user-friendly interface. With millions of users worldwide, BlueStacks lets you install and run almost any Android app or game on your Mac.
The main advantage of BlueStacks is its performance optimization. It’s designed to reduce lag, making heavy games like Call of Duty: Mobile and Asphalt run smoothly on Mac devices. You can also customize keyboard controls, map touchscreen gestures, and even record gameplay.
For beginners, BlueStacks is a safe choice because it doesn’t require any technical setup. Just download, install, and start using it. It supports both Intel-based Macs and Apple Silicon (M1, M2) Macs, which makes it future-proof.
NoxPlayer – Great for Gaming
If you are mainly interested in Android gaming on Mac, then NoxPlayer is one of the best choices. This emulator is optimized for smooth gaming performance and offers several customization options.
Gamers love NoxPlayer because it supports multiple instances. That means you can run more than one game at the same time on your Mac. For example, you can play Free Fire on one window while running another app in the background.
NoxPlayer also lets you assign custom keyboard shortcuts, connect game controllers, and adjust performance settings like CPU usage and RAM allocation. This flexibility makes it perfect for both casual and professional gamers.
Genymotion – Ideal for App Testing
If you are a developer who needs to test apps on different devices, Genymotion is the go-to option. It is a professional Android emulator for Mac that allows you to simulate multiple Android devices with different versions, screen sizes, and configurations.
Genymotion runs smoothly on macOS and integrates well with Android Studio, making it perfect for coding and debugging. Unlike BlueStacks or NoxPlayer, which focus on gaming, Genymotion is built for development and testing. It can even run in the cloud, so you can test apps without using your computer’s full resources.
For developers, Genymotion saves time and money since you don’t need to buy multiple Android phones. Everything can be tested directly on your Mac.
How to Install Android Emulator on Mac (Step-by-Step)
Installing an Android emulator for Mac is usually simple. Most emulators like BlueStacks or NoxPlayer follow the same installation steps:
- Go to the official website of the emulator (for example, bluestacks.com).
- Download the macOS version of the software.
- Open the installer file and drag the emulator to your Applications folder.
- Follow the on-screen instructions to complete installation.
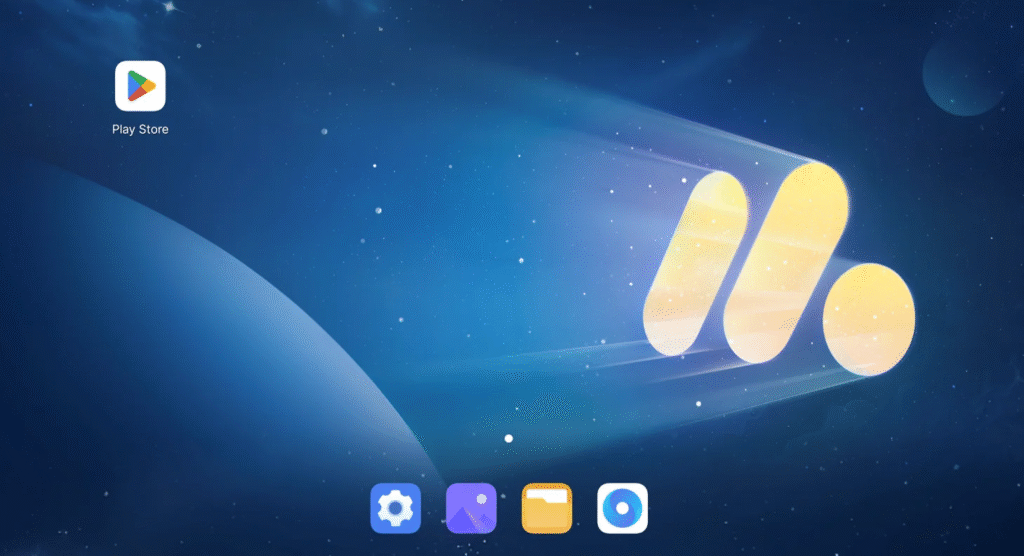
- Once installed, open the emulator and sign in with your Google account.
- Now you can access the Google Play Store and start downloading apps or games.
The process takes only a few minutes. For Apple Silicon Macs (M1/M2), always download the latest version because older builds may not work.
Is It Safe to Use Android Emulators on Mac?
Yes, using a trusted Android emulator for Mac is safe. BlueStacks, NoxPlayer, and Genymotion are widely used and considered reliable. However, safety depends on downloading from the official website instead of third-party sites that may contain malware.
Also, keep in mind that emulators do consume system resources. If your Mac has limited RAM or storage, it may slow down your computer temporarily. But as long as you stick to official downloads, there are no major security risks.
Android Emulator for Mac Without Lag – How to Make It Faster
Many people worry about lag when running Android apps on a Mac. The good news is that with the right setup, you can enjoy a lag-free Android emulator experience. Here are some tips:
Use Lightweight Emulators
If your Mac has limited resources, avoid heavy emulators and pick a lightweight one. For example, NoxPlayer and Genymotion can be customized to use fewer system resources. Some smaller emulators designed for developers are also lightweight and work faster on older Macs.
Adjust CPU and RAM Settings
Most emulators allow you to manually adjust how much CPU power and RAM they use. If you allocate more RAM, games will load faster and run smoother. For example, giving BlueStacks at least 4GB RAM and 2 CPU cores usually improves performance dramatically.
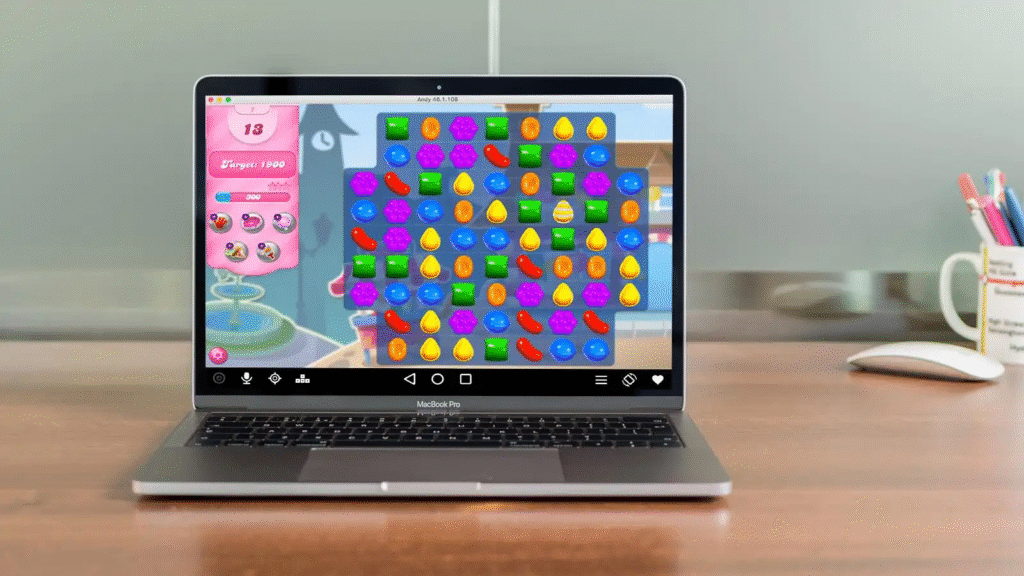
Can You Play Android Games on Mac? Yes, and It’s Fun!
The answer is a big yes. With an emulator, you can enjoy Android games on Mac with better controls and visuals. Instead of tapping on a tiny screen, you can use your keyboard, mouse, or even a game controller.
Popular games like PUBG Mobile, Mobile Legends, Among Us, and Clash of Clans work perfectly on emulators. Some even perform better on a Mac than on a low-end phone. Plus, playing on a bigger display makes the experience much more enjoyable.
Free Android Emulators for Mac – No Need to Pay
You don’t need to spend money to enjoy a good Android emulator for Mac. BlueStacks, NoxPlayer, and Genymotion (personal use) are free to download and use. They provide all the basic features without requiring payment.
Some professional features, like cloud testing on Genymotion, may come with a subscription. But for casual gaming or running apps, the free versions are more than enough.
The Bottom Line
An Android emulator for Mac is the perfect tool if you want to run mobile apps or games directly on your Mac computer. Whether you’re a gamer looking for smooth performance, a developer testing apps, or just someone who wants to enjoy Android-only apps on macOS, emulators make it possible.
In 2025, the top choices remain BlueStacks, NoxPlayer, and Genymotion, each serving a different purpose. Installing them is easy, they are safe when downloaded from official sources, and with a few tweaks, you can enjoy a lag-free Android experience on Mac.