
Picture a dessert plate adorned with delicate chocolate swirls, vibrant jello shots layered in perfect rainbow gradients, or a savory dish accented with precisely placed herb oil dots. Modern culinary presentation has embraced syringes as essential precision tools, transforming home cooks into artists. Plastic syringes and oral syringes unlock incredible creative potential, allowing anyone to achieve restaurant-quality plating and innovative serving styles. However, this potential comes with challenges. Improper use leads to frustrating messes, uneven dispensing that ruins careful work, potential food safety concerns from inadequate cleaning, and wasted ingredients alongside deflated confidence. Many enthusiastic cooks abandon these versatile tools after initial failures, never realizing how simple adjustments could have changed everything. This comprehensive guide cuts through the confusion, addressing the most common mistakes that derail culinary syringe projects. You’ll discover practical solutions for selecting the right equipment, mastering filling techniques, achieving steady control, and maintaining safety standards. Whether you’re crafting elaborate desserts or experimenting with creative serving methods, these insights will help you avoid pitfalls and consistently deliver impressive, professional-looking presentations that wow your guests.
Understanding Your Tools: Syringes for the Kitchen
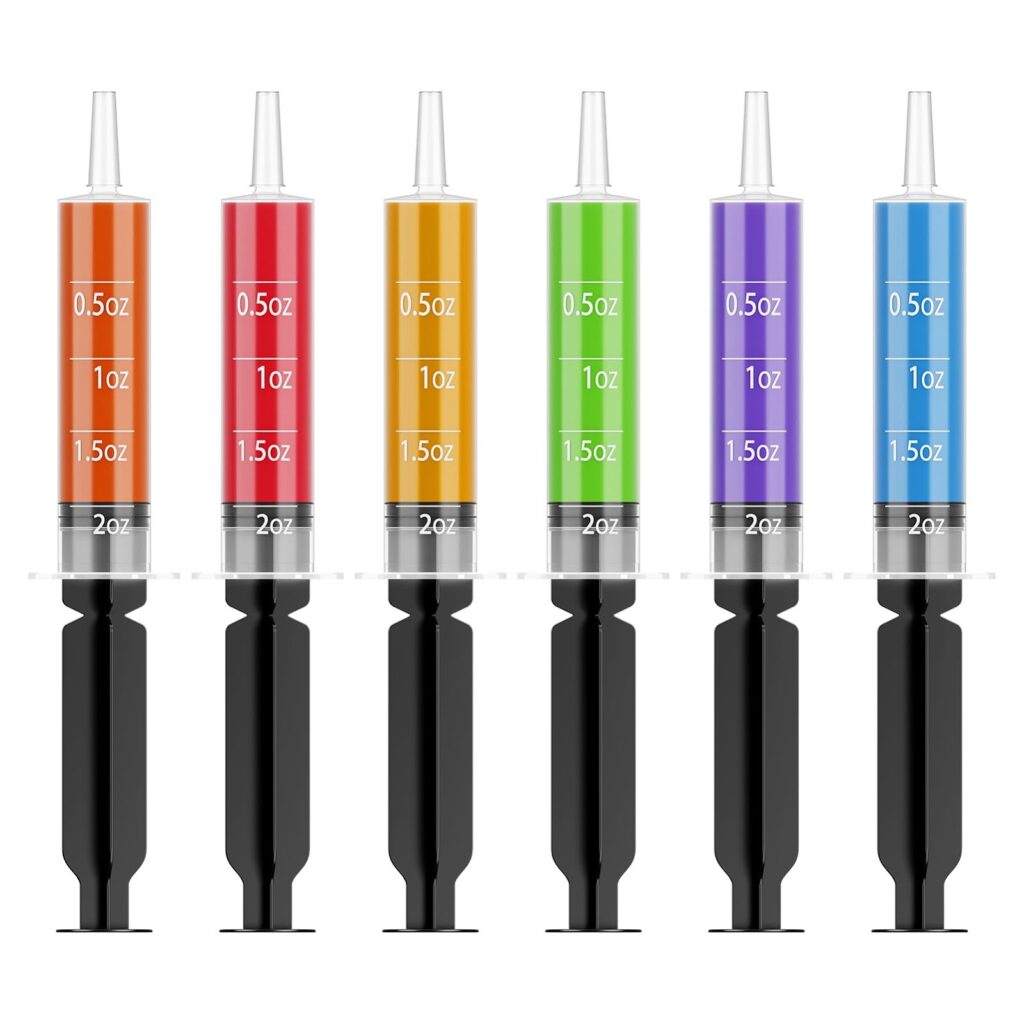
Not all syringes belong in the kitchen, and understanding the distinctions prevents both safety issues and disappointing results. Food-safe plastic syringes come in two primary categories: oral syringes, typically ranging from 1ml to 10ml with blunt tips designed for administering liquid medications, and larger culinary syringes, which can hold 30ml to 60ml and often feature interchangeable tips. The critical difference from medical syringes lies in material composition—always verify that your kitchen syringes are explicitly labeled food-grade and BPA-free, as medical versions may contain chemicals unsuitable for direct food contact or lack the durability needed for thicker substances.
Every syringe consists of three essential components working in harmony. The barrel, a transparent cylinder marked with volume measurements, holds your ingredient and allows you to monitor contents and air bubbles. The plunger fits snugly inside, creating the pressure differential that draws liquid in and pushes it out with controlled force. The tip, whether a simple opening, blunt needle attachment, or specialized nozzle, determines the precision and pattern of your dispensing. Understanding this mechanism helps you troubleshoot problems—a loose plunger means inconsistent pressure, while a damaged tip creates irregular flow.
Matching tool to task transforms frustration into success. Fine detail work like writing messages in chocolate sauce demands small-capacity syringes with narrow tips, giving you the control needed for delicate lines. Filling multiple jello shot cups efficiently requires larger barrels that reduce refilling frequency, while thicker substances like pastry cream need wider tip openings to prevent clogging. Consider your project’s scale and substance before reaching for a syringe, and keep a varied collection on hand for different culinary challenges.
Pitfall #1: Choosing the Wrong Syringe and Tip
The most fundamental mistake happens before you even fill your syringe—reaching for equipment that doesn’t match your ingredient or vision. Medical syringes, while superficially similar, often contain plasticizers and materials not rated for prolonged food contact, and their sharp needles pose unnecessary risks in kitchen environments. Beyond safety concerns, mismatched capacity creates workflow nightmares. A 3ml oral syringe forces constant refilling when dispensing batter into two dozen cake pop molds, while a bulky 60ml culinary syringe lacks the finesse needed for delicate chocolate script on petit fours.
Tip selection proves equally crucial yet frequently overlooked. Attempting to push thick caramel through a fine needle tip results in hand fatigue, inconsistent flow, and potential syringe damage as pressure builds dangerously. Conversely, using a wide opening for thin raspberry coulis creates uncontrolled splatter instead of the elegant thin lines you envisioned. The viscosity-to-opening ratio determines success—honey-thick substances need wider passages, while watery liquids require restriction for control.
Solution Steps: Matching Tool to Task
Begin by testing your ingredient’s consistency: tilt a spoonful and observe how it flows. Liquids that pour freely like water or juice work with any standard tip, while substances that slowly ooze like pudding or softened cream cheese demand openings at least 3mm wide. Next, visualize your finished presentation—delicate detail work writing names requires tips under 1mm, moderate drizzles need 2-3mm, and bold sauce pools work with 4mm or larger. Calculate your project volume to select barrel capacity, remembering that filling to 80% capacity rather than maximum gives better control. Finally, match these factors: thin liquids with small syringes and fine tips, thick mixtures with large-capacity syringes and wide openings, and keep medium-viscosity ingredients like melted chocolate in the versatile middle range with 10-30ml barrels and 2mm tips.
Pitfall #2: Improper Filling and Air Bubble Disasters
Few things prove more frustrating than carefully positioning your syringe to create an elegant chocolate flourish, only to have it sputter and spray, leaving gaps in your design and spatters across your pristine plate. Air bubbles are the silent saboteurs of precision work, creating inconsistent pressure that transforms smooth lines into broken dashes and uniform dots into unpredictable blobs. When filling jello shot syringes for layered creations, trapped air creates catastrophic results—instead of crisp, distinct color bands, you get mixed sections and uneven layers that look amateurish rather than impressive.
The problem typically starts at the filling stage, when rushed cooks plunge syringes into ingredients without proper technique. Pulling the plunger too quickly creates suction that draws air along with liquid, while failing to fully submerge the tip allows air to enter from above. Even small bubbles expand under pressure during dispensing, causing sudden flow interruptions that ruin carefully planned designs. Many users don’t realize that the barrel’s transparency isn’t just for measuring—it’s your quality control window for spotting these problems before they sabotage your work.
Solution Steps: The Bubble-Free Fill Technique
Start by fully submerging your syringe tip at least half an inch below the surface of your ingredient, angling it slightly to prevent surface air from following it down. Draw the plunger back with slow, steady pressure—rushing creates turbulence that introduces bubbles, so take three to five seconds for a full draw. Once filled, hold the syringe vertically with the tip pointing upward, allowing physics to work in your favor as bubbles naturally rise to the top. Tap the barrel firmly with your finger ten to fifteen times, watching bubbles collect at the tip. Gently depress the plunger just until liquid reaches the very end, expelling all trapped air. If significant volume was lost, submerge and re-draw to top off your syringe, repeating the tapping process until you achieve a completely clear, bubble-free barrel ready for flawless dispensing.
Pitfall #3: Lack of Control and Messy Application
Even with the perfect syringe and bubble-free filling, the moment of truth arrives when you actually apply your ingredient—and this is where many beautiful visions dissolve into frustrating reality. Shaky hands transform intended elegant chocolate script into wobbly, childish scrawls. Uneven thumb pressure creates thick blobs that suddenly transition to thin threads, ruining the consistent line weight that defines professional plating. That delicate herb oil dot pattern becomes a chaotic splatter of green across your carefully arranged appetizer. These control failures don’t reflect lack of talent but rather unfamiliarity with the unique mechanics of syringe dispensing, which requires different muscle memory than traditional piping bags or squeeze bottles.
The physics of plunger pressure demand smooth, consistent force, yet our hands naturally move in small jerks and adjustments. Without proper grip and stabilization techniques, even slight tremors translate directly through the syringe barrel to your work surface. Many cooks compound the problem by working too quickly, rushing through designs without planning their path or testing their pressure, then finding themselves committed to movements they can’t execute cleanly.
Solution Steps: Mastering Plunger Pressure
Establish a stable foundation by gripping the syringe barrel with your non-dominant hand wrapped around it like holding a flashlight, creating an anchor point. Your dominant hand controls the plunger using just your thumb for pressure while remaining fingers support the barrel from below. Before touching food, practice on parchment paper, drawing continuous circles and straight lines while maintaining absolutely consistent speed—aim for three seconds per inch of line. Plan your complete design path mentally, identifying where you’ll start and end, then commit to smooth, deliberate movements rather than hesitant stops and starts. For intricate work like lettering or geometric patterns, create simple stencils or use toothpick guidelines that you’ll cover with your design, giving your hand a clear path to follow with confidence.
Creative Serving Ideas: Beyond Basic Drizzles
Once you’ve mastered the fundamentals, syringes unlock an entire world of culinary artistry that transforms ordinary dishes into conversation-starting centerpieces. The precision these tools provide elevates presentation from home cooking to restaurant-caliber plating, with techniques that guests assume require professional training but actually just demand patience and the right approach. Dessert applications showcase syringes at their most dramatic—imagine writing personalized messages in glossy chocolate ganache across birthday cake plates, creating perfect polka dot patterns with vibrant fruit coulis around panna cotta, or injecting surprise flavor bursts directly into cream puffs and doughnuts. Geometric designs become accessible when you use syringes to draw precise concentric circles, parallel lines, or dot grids that frame your desserts with modern sophistication.
Savory applications prove equally impressive yet remain underutilized by home cooks. Infused herb oils dispensed in controlled dots around carpaccio or grilled fish create professional-looking accent patterns that add both visual appeal and concentrated flavor exactly where you want it. Compound butters softened to the right consistency can be injected into chicken breasts or under turkey skin for self-basting perfection. Balsamic reductions, pesto, and aioli become precision tools rather than messy spoons, allowing you to create clean sauce swooshes and targeted flavor placement that keeps plates looking pristine rather than haphazard.
Featured Idea: Perfect Layered Jello Shots with Syringes
Layered jello shots represent the pinnacle of syringe technique, combining precision with patience for stunning results. Begin by preparing your jello flavors according to package directions, but use 25% less water for firmer layers that hold their boundaries. Allow each batch to cool to room temperature before use—hot jello will melt previously set layers. Fill your first color into shot cups to about one-third height and refrigerate for 45 minutes until firmly set, not just tacky. Draw your second color into a clean syringe, then position the tip against the inside wall of each cup just above the first layer. Depress the plunger with steady, gentle pressure, allowing the liquid to flow down the wall rather than dropping directly onto the set layer, which would create mixing and blurred boundaries. Repeat the setting and layering process for each additional color, working from bottom to top, and always ensuring complete firmness before adding the next layer for those crisp, Instagram-worthy color bands that showcase true syringe mastery. Brands like Jolly Chef offer complete culinary syringe sets with multiple tip sizes and clear shot cups designed specifically for these layered presentations, making it easier to coordinate your tools and serving vessels.
Safety, Cleaning, and Storage Best Practices
The convenience and creativity syringes bring to your kitchen mean nothing if they become vectors for foodborne illness or degrade into unreliable tools. Cross-contamination poses real risks when the same syringe moves between raw and cooked ingredients, or when allergens transfer between dishes. A syringe used for raw egg-based sauce and then inadequately cleaned before dispensing chocolate creates dangerous bacterial conditions. Similarly, peanut butter residue in a syringe later used for other desserts can trigger severe allergic reactions in sensitive guests.
Proper maintenance begins immediately after each use. Disassemble your syringe completely, separating the plunger from the barrel and removing any detachable tips. Rinse all components under warm running water within minutes of finishing your project—dried, sticky substances like caramel or cream cheese become exponentially harder to remove once they set. Wash each piece individually with hot, soapy water, using a bottle brush to scrub the interior barrel thoroughly, paying special attention to the narrow tip area where residue hides. Rinse until water runs completely clear with no soap traces or food particles visible.
Drying and storage determine longevity and safety. Stand components upright on a clean dish rack, allowing air circulation to prevent moisture trapped inside the barrel from fostering bacterial growth. Never reassemble syringes while damp or store them in closed containers without complete drying. Keep your collection in a dedicated drawer or container away from raw food areas, with plungers partially inserted to prevent dust accumulation but not fully sealed. Replace any syringe showing cracks, cloudiness in previously clear plastic, or plungers that no longer create tight seals—compromised equipment means compromised results and potential safety hazards.
Achieving Precision and Confidence in Culinary Presentation
Mastering culinary syringes comes down to avoiding three fundamental pitfalls: selecting equipment mismatched to your ingredient and vision, introducing air bubbles during filling that sabotage smooth dispensing, and lacking the control techniques that separate amateur attempts from professional-looking results. Each challenge has straightforward solutions—matching viscosity to tip size, employing the bubble-free fill method with patience and vertical tapping, and developing steady two-handed grip with planned movements rather than improvisation. These aren’t specialized skills reserved for trained chefs but practical techniques any home cook can develop through understanding and deliberate practice. Your plastic syringes and oral syringes transform from frustrating gadgets into precision instruments when you approach them with proper knowledge and respect for their mechanics. Start with simple projects like sauce dots or single-layer applications, building confidence before attempting complex layered jello shots or intricate chocolate script. The transformation in your presentations will be immediate and undeniable—clean lines replacing messy drizzles, consistent patterns replacing random spatters, and guests asking how you achieved such restaurant-quality plating. With safety and cleaning practices ensuring your tools remain reliable, you’ve unlocked a creative dimension in your kitchen that elevates every dish from ordinary to extraordinary through the power of precision and artistic vision.