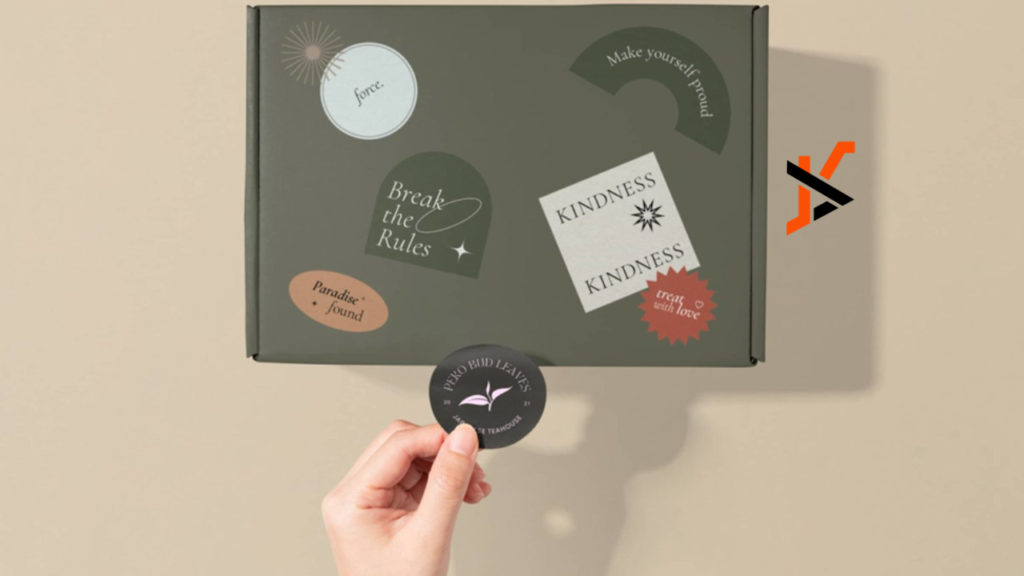
In today’s digital age, custom die cut stickers have become a versatile medium for personal expression, branding, and promotional purposes. Whether you’re designing stickers for your business, a special event, or personal use, ensuring high resolution is crucial to achieving a professional and visually appealing result. This guide explores essential steps to enhance the resolution of your custom sticker designs, ensuring they stand out with clarity and vibrancy.
What is Resolution?
Resolution in digital design refers to the clarity and detail of an image, measured in dots per inch (DPI). The higher the DPI, the sharper and more detailed the image will appear when printed. For stickers, a resolution of at least 300 DPI is recommended to ensure that text is legible, images are crisp, and colors are vibrant.
Starting with Vector Graphics
When creating custom die cut stickers, starting with vector graphics is ideal for maintaining high resolution. Unlike raster images that are composed of pixels and can lose quality when scaled up, vector graphics use mathematical formulas to define shapes. Programs like Adobe Illustrator or Inkscape allow you to create scalable vector designs that retain sharpness and clarity regardless of size.
Using High-Quality Images
If you’re incorporating raster images into your sticker design, ensure they are high-quality and have a resolution of at least 300 DPI at the size they will be used. Low-resolution images can appear blurry or pixelated when printed, diminishing the overall quality of your stickers.
Avoid Scaling Up Raster Images
To maintain optimal resolution, avoid scaling up raster images beyond their original size within your design software. Scaling up raster images stretches the pixels, resulting in a loss of sharpness and clarity. It’s best to use images at their native resolution or higher to ensure the best print quality.
Checking Image Dimensions
Before finalizing your sticker design, verify the dimensions of your images and artwork to match the size at which the custom die cut stickers will be printed. This step helps prevent distortion and ensures that your design elements appear crisp and clear on the final printed product.
Using Layers Effectively
Organizing your design elements into layers within your design software allows for better management and editing. By working in layers, you can make adjustments to specific elements of your design without affecting others, ensuring that each part maintains its resolution and clarity.
Opting for CMYK Color Mode
When designing for print, use the CMYK color mode rather than RGB. CMYK is optimized for printing and ensures that colors appear accurately when translated from screen to print. This step helps maintain color consistency and vibrancy in your design of custom die cut stickers.
Utilizing Text Effectively
If your sticker design includes text, choose fonts that are clear, legible, and appropriate for the size at which they will be printed. Ensure that text is large enough to read comfortably and has adequate spacing between letters to prevent it from becoming illegible when printed.
Checking Printing Specifications
Different printing methods and services may have specific requirements for resolution, file formats, and color profiles. Before sending your design for printing, consult with your chosen printing service to understand their specifications and adjust your design settings accordingly to optimize resolution and print quality.
Previewing at Actual Size
Always preview your sticker design at actual size before finalizing it for printing. This step allows you to identify any potential issues with resolution, layout, or text readability that may need adjustment. Viewing your design at actual size provides a more accurate representation of how it will appear once printed.
Testing Print
Consider conducting a test print of your design using a home printer or requesting a sample batch from your printing service. Testing the print allows you to evaluate the final resolution and quality of your custom die cut stickers before proceeding with a larger print run. It also gives you an opportunity to make any necessary adjustments to ensure the best possible outcome.
Professional Printing Services
For the highest quality stickers and keychain accessories, consider using professional printing services that specialize in sticker production. Professional printers have the expertise, equipment, and materials necessary to produce stickers with excellent resolution and color accuracy, ensuring your designs look their best.
Considering Die-Cutting Services
If your sticker design includes intricate shapes or borders, consider opting for die-cutting services. Die-cutting ensures that your stickers are precisely cut according to your design specifications, enhancing the overall aesthetic appeal and professionalism of your finished stickers.

Reviewing Feedback
Before finalizing your sticker design, seek feedback from colleagues, friends, or online communities. Fresh perspectives can help identify potential resolution issues or areas for improvement that you may have overlooked. Constructive feedback can be invaluable in refining your design to achieve the best possible resolution and visual impact.
Maintaining File Integrity
Ensure that your design files are saved in the correct file format and resolution throughout the design process. Maintaining backups of your original files helps prevent loss of quality or data corruption, ensuring that your custom die cut stickers are printed with the highest resolution and clarity possible.
Conclusion
In conclusion, enhancing the resolution of your custom sticker designs involves careful attention to detail, use of appropriate tools and techniques, and collaboration with professional printing services. By following these steps, you can ensure that your custom die cut stickers are not only visually striking but also convey professionalism and quality in every detail. Whether for personal enjoyment, business promotion, or event branding, high-resolution stickers leave a lasting impression and effectively communicate your message to your audience.

