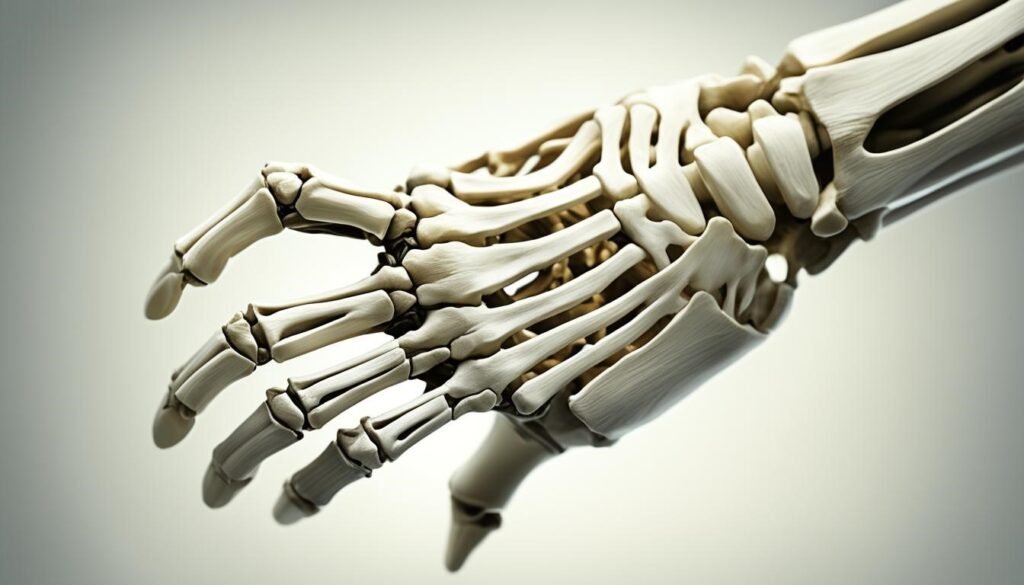
Drawing hand bones is a fascinating journey for artists. It helps them capture the detailed skeletal structure of the human hand. This guide will take you through a step-by-step process. You’ll learn about hand drawing basics, anatomy, and proportions. It’s perfect for both beginners and experienced artists.
You’ll gain the skills to draw realistic and detailed hand bones. This will show off your artistic talent.
Mastering the Fundamentals of Drawing
To draw hands accurately, knowing hand anatomy and its proportions is key. This part will focus on the bones and joints of the hand. It will show you how to see and draw these parts correctly.
Understanding Anatomy and Proportions
The hand bone structure is complex, with 27 bones. Knowing the shape and size of the hand proportions is vital for realistic drawings. This knowledge helps you capture what makes each hand unique.
Developing Observational Skills
Good observational drawing techniques are crucial for drawing hands. You need to study the hand’s contours, angles, and how its parts relate to each other. Improving your anatomical drawing skills lets you draw more accurately and realistically.
Practice is key to getting better at hand drawing. With effort and patience, you’ll improve your skills. Soon, you’ll be able to draw beautiful, realistic hands that show off your talent.
Essential Tools and Materials
To make beautiful hand bone drawings, you need the right tools and materials. From drawing pencils to special paper, the right art supplies can change your sketching game. Let’s look at the key tools and materials you need for amazing anatomical drawings.
Drawing Pencils and Erasers
Starting with great drawing pencils is key for hand bone drawings. Choose pencils with different hardness levels, like soft 6B for bold lines and hard 2H for fine details. Pair these with erasers like kneaded or vinyl to make your sketches perfect.
Specialized Paper
The paper you pick affects your drawing’s quality. For anatomical sketches, use smooth, acid-free paper or vellum for detailed hand bones. Try different weights and textures to find what works best for you.
Drawing a hand skeleton guide is essential for mastering the intricate details of human anatomy, enabling artists to depict the skeletal framework of hands with precision and artistic flair.
Drawing Accessories
- Blending stumps or tortillons for smooth shading
- Sharpeners to keep your pencils sharp
- Drawing boards or clipboards for stable sketching
- Fixative spray to protect your finished work
| Drawing Tool | Purpose |
| Graphite Pencils | Create lines, shapes, and shading for hand bone drawings |
| Erasers | Refine and adjust details in your sketches |
| Drawing Paper | Provide a suitable surface for your anatomical drawings |
| Blending Tools | Smooth and blend pencil strokes for realistic textures |
| Sharpeners | Maintain sharp, precise points on your drawing pencils |
| Fixative Spray | Protect and set your completed hand bone drawings |
With the right drawing tools, art supplies for hand drawing, and materials for anatomical drawing, you’re set to make amazing sketching equipment and drawing paper for your hand bone drawings.
Techniques for Realistic Hand Bone Drawing
Learning to draw hand bones takes practice and the right techniques. We’ll cover step-by-step methods for drawing the hand’s skeleton. We’ll also look at how to add details and shade your drawings for a realistic look.
Sketching the Basic Structure
Start by looking at the hand’s shape and size. Notice how the bones are arranged. Draw a simple outline, focusing on the metacarpals and phalanges first. Then, add the smaller carpal bones, making sure they’re in the right place and size.
Think about the three dimensions of the hand. Show the depth and angles of the bones as they fit together.
Adding Details and Shading
After the basic bones, it’s time for details. Hand bone sketching means drawing each bone, joint, and the soft tissues around them. Use precise lines and drawing hand skeleton methods to show the bones’ textures and shapes.
Then, use shading techniques for hand drawings to add depth and dimension. This makes your realistic hand bone art look more lifelike.
With these adding details to hand drawings skills, you can make beautiful, realistic hand bone pictures. They’ll show the amazing complexity and beauty of the human hand.
Conclusion
This guide has shown you how to draw hand bones. Practice often, study the anatomy, and try different materials to see what suits you best. With hard work and a desire to learn, you can make hand bone drawings that amaze people.
The key takeaways are to know the hand’s anatomy and proportions, improve your observation skills, use the right tools, and learn to sketch the basic structure and add details and shading. These steps will help you make amazing drawings of hand bones that show off your skills.
Getting better at drawing hand bones is a continuous journey. Face the challenges, keep exploring, and keep improving your skills. With every drawing, you’ll get more confident and skilled. Enjoy the process and feel proud of your amazing art.

