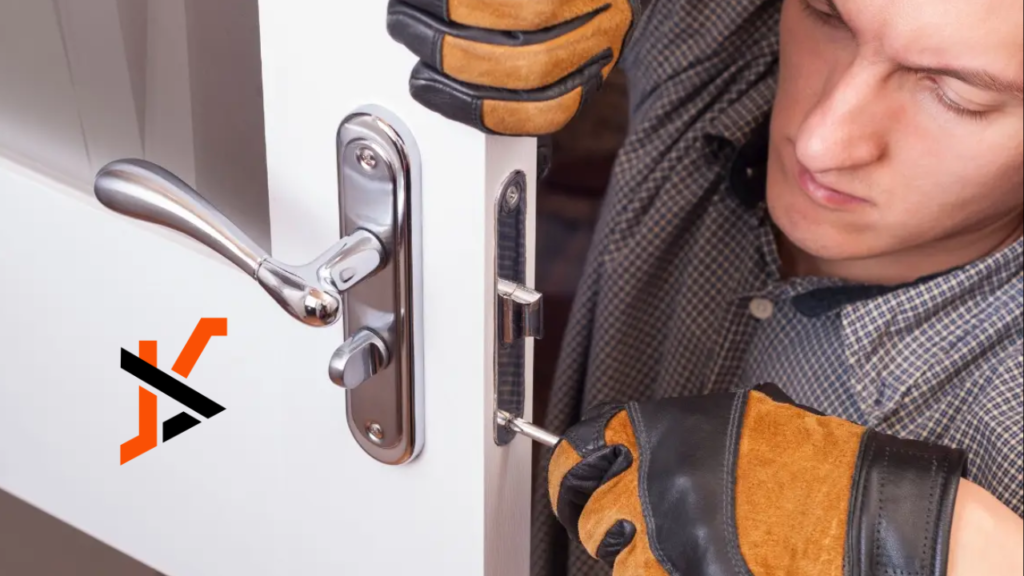
A broken door lock handle not only compromises the security of your home but also poses an inconvenience in your daily routine. Whether it’s a loose handle, a faulty latch, or a handle that won’t turn, addressing the issue promptly is crucial.
In this guide, we’ll walk you through the step-by-step process of fixing a broken door lock handle, helping you restore both security and functionality to your entryway.
Materials and Tools You’ll Need
- Replacement door lock handle
- Screwdriver
- Pliers
- Lubricant (such as graphite spray)
- Allen wrench (if applicable)
- Replacement screws (if necessary)
Steps to Fix a Broken Door Lock Handle
Adopt the following stepwise procedure to fix a broken lock door handle.
- Assess the Damage
Identify the specific issue with the door lock handle. Is it a loose handle, a misaligned latch, or a handle that won’t turn? Understanding the problem will guide you in the repair process.
- Remove the Screws
Use a screwdriver to remove the screws securing the broken door lock handle carefully. Typically, you’ll find screws on the interior side of the door. Place the screws in a safe location for later use.
- Detach the Door Handle
Once the screws are removed, gently detach the broken door lock handle from both sides of the door. You may need to use pliers to remove any stubborn or rusted components.
- Inspect and Clean the Interior Mechanism
Examine the interior mechanism of the door lock handle for any debris, dirt, or rust. Clean the components using a cloth or a small brush. Apply a lubricant, such as graphite spray, to ensure smooth operation. If you cannot inspect the interior mechanism, hire a locksmith in Stansted to make things easier for yourself.
- Replace the Door Lock Handle
If the door lock handle is irreparably damaged, it’s time to replace it. Install the new handle by aligning the spindle with the latch mechanism on both sides of the door. Secure the handle in place using the screws you removed earlier.
- Adjust the Latch Alignment
If the latch doesn’t align correctly with the strike plate, causing difficulty in closing the door, adjust the latch’s position. Loosen the screws on the latch plate, reposition it for proper alignment, and tighten the screws.
- Tighten Loose Screws
Loose screws can contribute to a malfunctioning door lock handle. Check all screws on both sides of the door and tighten them using a screwdriver. Ensure that the handle and latch are securely fastened.
- Lubricate Moving Parts
Apply lubricant to moving parts, including the spindle and latch, to reduce friction and ensure smooth functionality. This step is crucial if the door lock handle is sticking or needs help to turn.
- Check Handle Operation
Test the repaired or replaced door lock handle to ensure it operates smoothly. The handle should turn quickly, and the latch should engage and disengage without resistance. Make any additional adjustments as needed.
- Secure the Strike Plate
Check the alignment of the strike plate on the door jamb. If necessary, adjust the position to ensure that the latch engages appropriately. Tighten the screws on the strike plate to secure it in place.
- Verify Security and Functionality
After completing the repair or replacement process, verify that the door lock handle provides secure locking and unlocking. Test the handle from the interior and exterior sides to confirm that it operates seamlessly. You can consult a locksmith in Sawbridgeworth if you experience problems throughout the lock handle fixing process.
Conclusion
Fixing a broken door lock handle is a practical and achievable task with the right tools and guidance. By following these step-by-step instructions, you can address common issues and restore the functionality of your door lock handle. A smoothly operating door lock enhances security and improves your home’s overall convenience and comfort.

